Here's the post I wanted to do before, but couldn't put together until today. Actually, I was going to do a tutorial on placemats, but you can easily use different dimensions and turn this project into a placemat. Or a coaster. It's up to you.
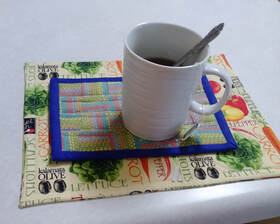
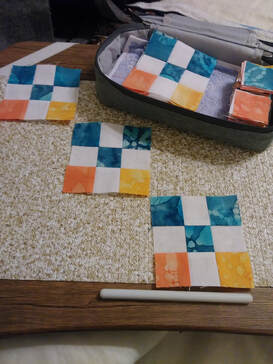
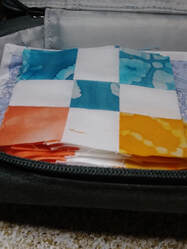
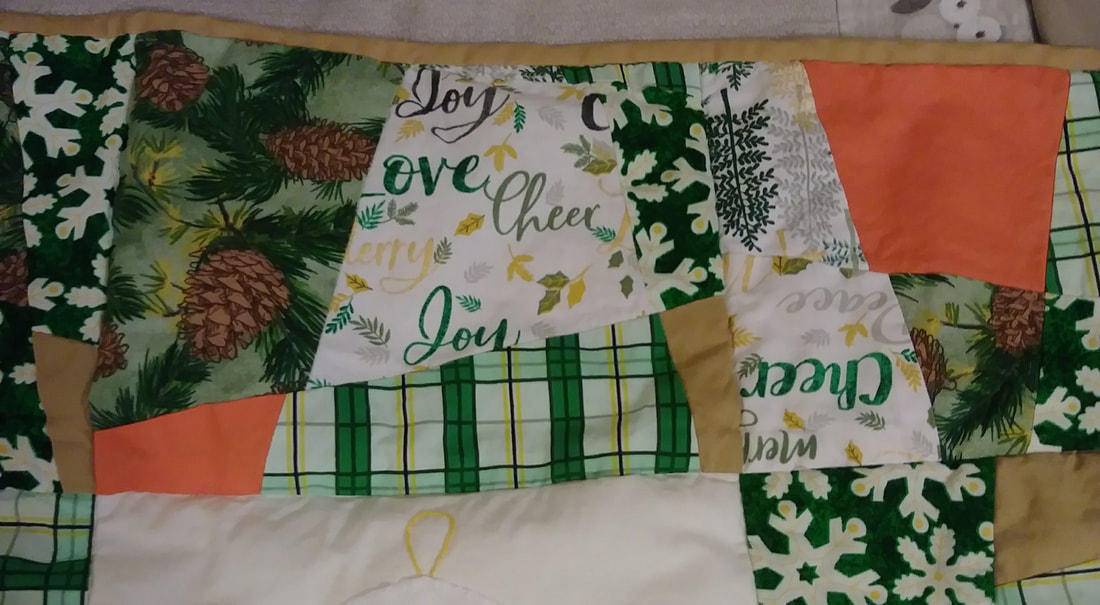
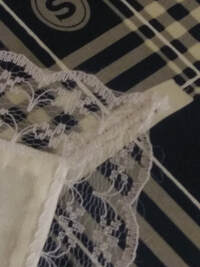
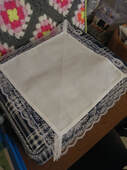
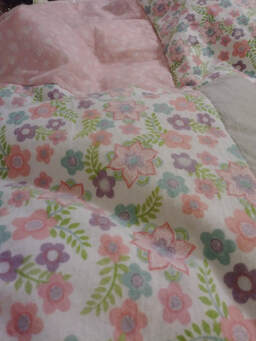
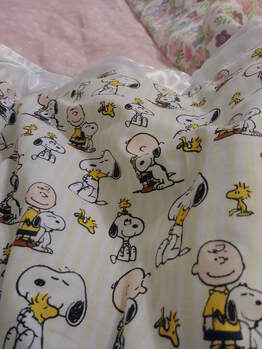
Here are a couple of examples of what I want to accomplish today. The larger piece is a placemat I made, about 10" about 13" and the mug rug on top of the placemat is about 6" by 9".
These two pieces are constructed differently. The placemat is made with a piece of fusible fleece cut to the finished size and the placemat is sewn, turned, and quilted. The mug rug has a pieced top, I skipped the fleece and used a layer of Insul-Brite as batting. So of course then I had to put a binding around the edge.
I prefer to make placemats and similar items with the fusible fleece. Once you're done, you're done. No binding.
Read the whole post first if you want to make something like this. I make a couple of points later in this post that you might need to see before you start sewing.
By the way, the placemats are pretty reversible. I used the same fabric on both sides. However, I was just going to use these at my own house, so I wasn't ultra-super-neat about the finishing. I just brought the threads to the back, knotted them and clipped them close to finish. If you hide the threads better you will have a completely reversible item.
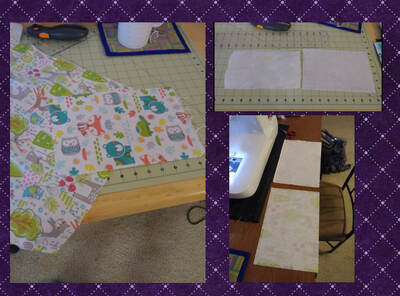
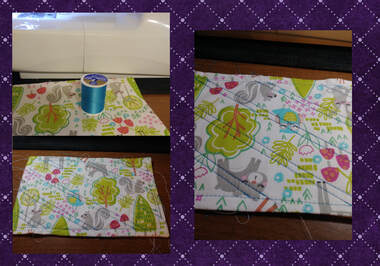
I picked out two cutesy fabrics because my aim was to make a mug rug to use at my sewing table because I often have a cup of tea while I work on a project., and I love cutesy fabrics. The fabrics are very similar, but the one with the foxes is flannel. The other is just a plain cotton fat quarter. I did something a little different that I didn't do with the placemat. I added an extra layer of featherweight interfacing.
To begin constructing the mug rug (or whatever), cut out a piece of fusible fleece in your desired finished size (in my case I used 6" by 9") and also a piece of featherweight interfacing in the very same size. You iron these to the wrong side of your fabric (one to each fabric, or you could use the same fabric for each side) and then cut them out, leaving an extra 1/4" of fabric all around the the fleece or interfacing. If you skip the interfacing, you would cut out a piece of fabric for that side but add 1/2" to each dimension of your finished size. So, if I had skipped the interfacing in my project, I would have cut the second piece of fabric out 6 1/2" by 9 1/2". Don't skip the fusible fleece. It's what gives the placemat or mug rug the perfect thickness. **I will have links on my LINKS TO STUFF AND OTHER STUFF page to information about fusible fleece and interfacing**
To begin constructing the mug rug (or whatever), cut out a piece of fusible fleece in your desired finished size (in my case I used 6" by 9") and also a piece of featherweight interfacing in the very same size. You iron these to the wrong side of your fabric (one to each fabric, or you could use the same fabric for each side) and then cut them out, leaving an extra 1/4" of fabric all around the the fleece or interfacing. If you skip the interfacing, you would cut out a piece of fabric for that side but add 1/2" to each dimension of your finished size. So, if I had skipped the interfacing in my project, I would have cut the second piece of fabric out 6 1/2" by 9 1/2". Don't skip the fusible fleece. It's what gives the placemat or mug rug the perfect thickness. **I will have links on my LINKS TO STUFF AND OTHER STUFF page to information about fusible fleece and interfacing**
Place the fabrics with right sides together. Sew them together using the edge of the fusible fleece as your sewing line. Leave a hole to turn, of course. Once you sew them together, trim the seam allowance and clip the corners. (I leave the seam alone around the area where the turning hole is, it makes it easier to hand sew up later) Then you turn, making sure your corners are as sharp as you can get them with a chopstick or knitting needle, not poking too hard.
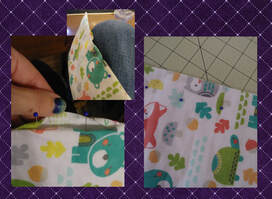
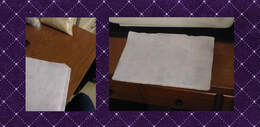
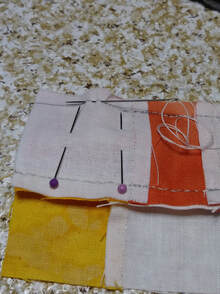
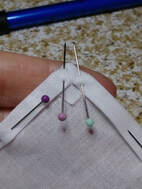
You might want to skip this next step, depending on what you intend to do later on. When I'm finishing up, I sew a generous 1/4" from the edge all the way around the mat/rug so I don't really sew close enough to close up the turning hole. So I intend to hand sew up the turning hole. But first, I carefully folded the seam over, pinned with pins, and pressed it flat, rolling the seams as I went around the edge to make sure the mat/rug was laying (lying?) flat.
Here it is, pressed flat, and ready for the next step. Remember I mentioned PINNING and then IRONING? Yes, I used GLASS HEAD PINS so I could pin and leave the pins in to try and make sure things didn't move around too much while I pressed. I pressed a bit, then took out the pins, and pressed again.
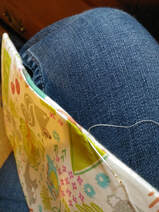
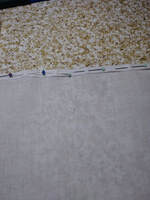
It's time for me to sew up the turning hole. By the way, I'm using one of the needles that usually stays in my cute pincushion/needlebook combo. Do you like it?
Of course, you could skip this next step and just topstitch maybe 1/8" or so from the the edge of your project, just a very close topstitch. Then you could just make sure the topstitch catches the seam all the way around and you wouldn't need to hand sew at all.
I happen to like the look of my topstitching being a bit further from the edge, so I'm going to make sure that my hole is closed.
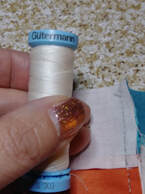
Hand sewing up the turning hole. I used Gutterman 100% cotton thread and just a random needle that looked good. Probably some kind of embroidery needle, to be honest. I'm using an invisible stitch, ladder stitch, whatever to you want to call it when you sew into the seam on one side, then go directly opposite, then sew there, you know the drill. In case you don't, here's some directions HERE. I pulled this video up randomly, so I'm sorry if it's not too great. It looked OK from my short viewing of it.
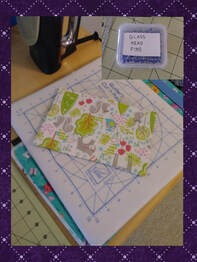
So now I want to sew some quilting lines to give this a little, I don't know what you would call it, texture? Also to keep things from shifting, although that's not as important with fusible fleece as it would be if I had used conventional batting.
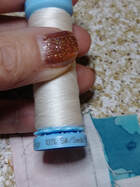
I chose some blue thread that was a color I pulled out of the colors in the fabric, sort of. I still used white for the other side. This fabric that I am considering the "front" side is the regular cotton fat quarter fabric. The flannel is on the "back" side.
I messed up on this next step, because I had two pictures of where I drew the slanted lines with a Frixion pen and one looked too fuzzy but I accidentally deleted both of them. That was the mess up, you don't get to see that part. By the way, I sewed the top stitching all the way around before I drew the lines. I drew the lines, and then I sewed along the slanted lines. Draw whatever pattern you want. Don't make it too complicated.
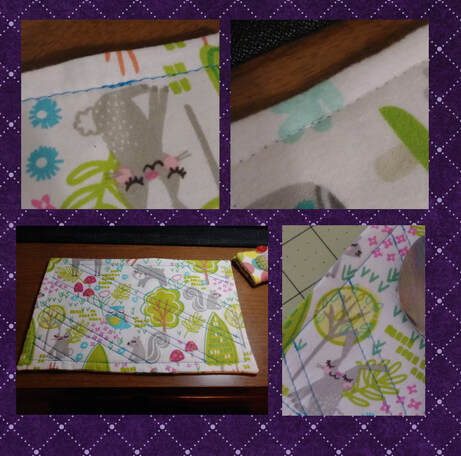
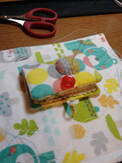
I took all the threads and brought them to the back, then hid them inside the mug rug by taking them in at a point close to where they came out, running them a short ways inside the rug, then came out again, pulled the threads a bit taut, then clipped them close to the fabric. When I let the fabric go, they got pulled a little further inside, but didn't pop out the other side for being too short. Needless to say, I left my threads REALLY long when I stopped sewing each line. See how nice it looks from the "front" and the "back"? You can tell where I stopped/started on that one line (so my stitches would be locked there) but it doesn't look too bad. Then you can see in the closeup on the lower right that the lines I drew were gone. What magic is this? Frixion pens are heat sensitive. When I pressed this piece with the iron after I was completely done sewing, the lines disappeared.
Here's the finished mug rug. The picture on the left shows the "back" side and on the right is the "front" side. It doesn't really matter. I kind of like the flannel "back" side better.
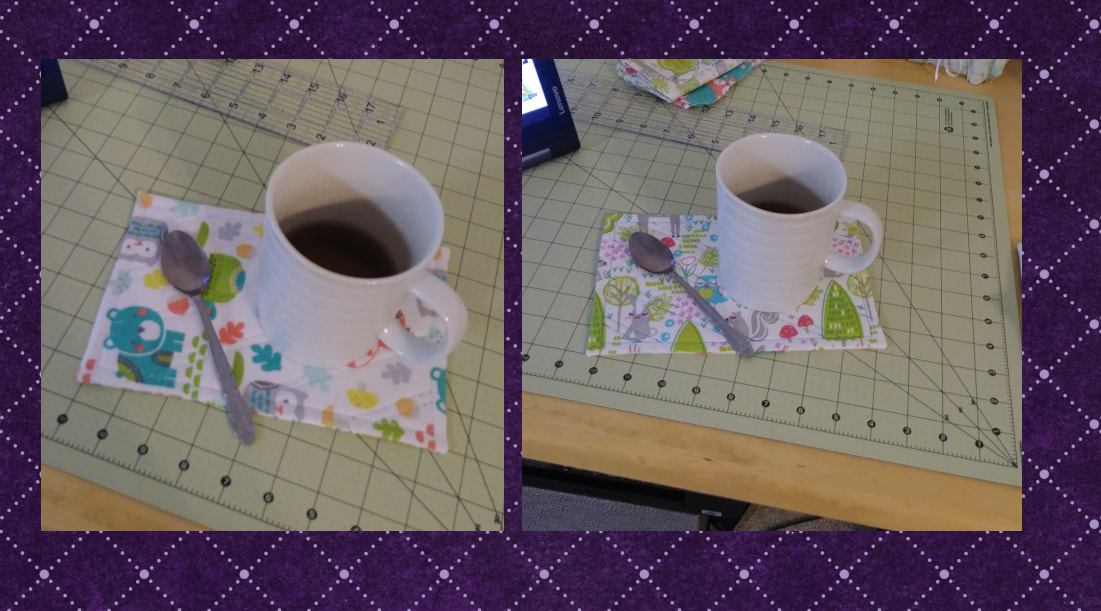
It's a nice size, just about right for my mug and also gives me a place to set my spoon.
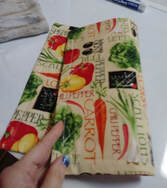
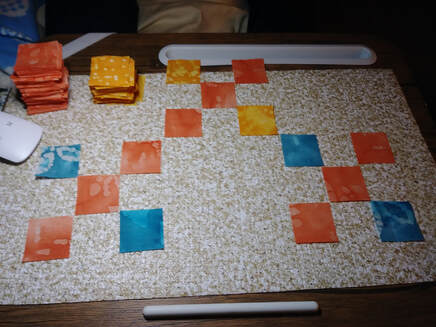
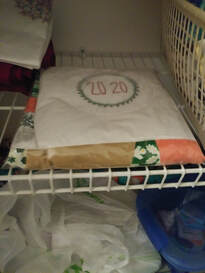
Remember that butt ugly mug rug in the very first picture? (no, really, it's bad. I had a picture that shows the back side of it, too, but I didn't want to make your eyes bleed) I decided THAT one would go on my sewing table (it has Insul-Brite inside as batting, so I could even use it to set my iron on if I wanted) and the cutesy forest creature one would go on my nightstand.
WHEW
That was a lot.
Ending Housekeeping bits:
I have added links on my Links to Stuff and Other Stuff page that lead you to manufacturer's information on fusible fleece and Insul-Brite, and interfacing so you can look up what they're for and how to use them.
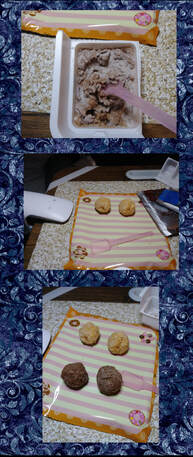
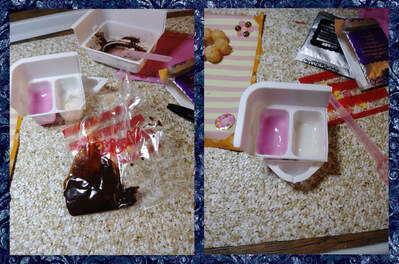
UPDATE TO POPIN' COOKIN' review: I love Ann Reardon! I guess that's no secret. I found out she made a recipe/directions for making your own tiny cooking kit that makes a REAL cake and you can buy a cute set of directions and graphics to make a box and stuff. IT IS SO STINKING CUTE AND IT PROBABLY TASTES GREAT TOO. I will leave a link to that on my Just for Fun page.
Ok, that's takes care of everything for this week. Have fun guys! Drink tea! Or you could drink coffee, or whatever, make yourself a little rug to put your cup/mug/glass/stein on!!!!
It's a nice size, just about right for my mug and also gives me a place to set my spoon.
Remember that butt ugly mug rug in the very first picture? (no, really, it's bad. I had a picture that shows the back side of it, too, but I didn't want to make your eyes bleed) I decided THAT one would go on my sewing table (it has Insul-Brite inside as batting, so I could even use it to set my iron on if I wanted) and the cutesy forest creature one would go on my nightstand.
WHEW
That was a lot.
Ending Housekeeping bits:
I have added links on my Links to Stuff and Other Stuff page that lead you to manufacturer's information on fusible fleece and Insul-Brite, and interfacing so you can look up what they're for and how to use them.
UPDATE TO POPIN' COOKIN' review: I love Ann Reardon! I guess that's no secret. I found out she made a recipe/directions for making your own tiny cooking kit that makes a REAL cake and you can buy a cute set of directions and graphics to make a box and stuff. IT IS SO STINKING CUTE AND IT PROBABLY TASTES GREAT TOO. I will leave a link to that on my Just for Fun page.
Ok, that's takes care of everything for this week. Have fun guys! Drink tea! Or you could drink coffee, or whatever, make yourself a little rug to put your cup/mug/glass/stein on!!!!


 RSS Feed