First off, a little housekeeping. I've joined the Amazon Affiliate program, and I want to put the disclaimer in every post just in case: The operator of this website is a participant in the Amazon Services LLC Associates Program, an affiliate advertising program designed to provide a means for sites to earn advertising fees by advertising and linking to Amazon.com. Therefore, some links in this blog may be affiliate links. I might get paid if you buy something or take actions after clicking one of these links.
OK. That's out of the way.
OK. That's out of the way.
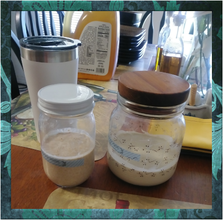
So....the sourdough starters have been stored in the fridge for the last week. They seem to be doing well. I decided Wednesday was going to be my designated day to feed the starters once per week. The whole wheat is more active than the bread flour and smells better. The bread flour one doesn't smell bad....just different in a way that is less pleasant than the whole wheat one. I may eventually decide to get rid of that starter and either just rely on the wheat or make another bread flour one, possibly using the dried backslop I have put aside.
Next order of business was trying out an idea I had. Using my usual Emmymade bread recipe, I switched out 1/3 of the bread flour with whole wheat. It wound up changing the whole character of the loaf, but we'll get to that later.
By the way, I put a link to Emmy's video on my links page, in case anyone is interested.
At any rate, I looked up some instructions on how to substitute flours, luckily whole wheat flour is still fairly high in gluten, unlike some other flours, especially "flours" made from non-grain sources like nut flours. With those, you either need a lot of bread flour or Xanthan Gum if you want to make a yeast bread. Just about everything I read noted two things: 1) start with about 1/3 flour substitution and 2) work your way up from there to a consistency you like and keep in mind that you'll have a stickier dough (well, they didn't say "sticky" they talked about "hydration" and stuff but I'm not that advanced yet). This dough was much more sticky as we'll see later.
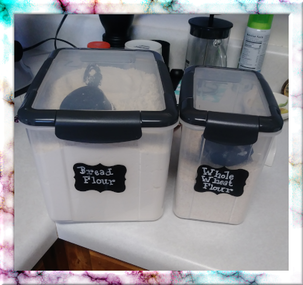
By the way, do you like the containers? I ordered these off of Amazon, they come with the labels and a chalk marker. I guess this is going to be my very first affiliate link! It says it is a 12 piece set, which sounds impressive, until you realize that it is two big containers, 4 smaller containers and 6 lids. But it is still a nice set. Get it here: Food Storage Containers.
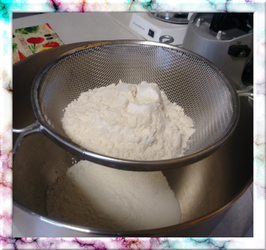
I sift all my dry ingredients in the stand mixer bowl. This is a simple recipe with only one twist which is making the tangzhong (did I spell that right?). I don't even proof the yeast....but it comes out OK. Think bread machine kind of technique here. Simple. Sift the dry ingredients in and give them a whisk to mix them up so they are well distributed.
Yup--yeast and everything not wet is in there: flours, yeast, salt, sugar, etc.
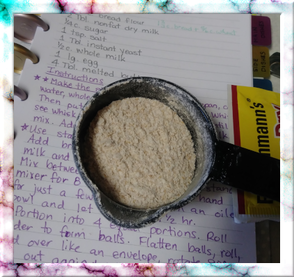
Ok, so I was substituting so I had to do some math. It wasn't too hard. but since the original amount of flour was 2 1/2 cups of flour, the amount of whole wheat flour I had to put in was 5/6 cup. Easy peasy: that's 2/3 cup of wheat flour plus 1/2 of the 1/3 cup measure of flour, pictured here.
I forget what I figured out what the amount of bread flour in sixths was. I was just pretty proud of myself for figuring an easy way to measure out 5/6 of a cup.
I know it really isn't that big of a deal, but it meant a lot to me.
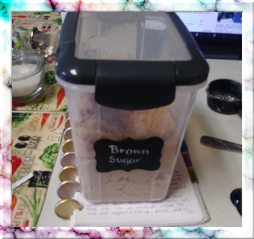
And as long as we're substituting things, I figured I'd switch out the white sugar and use brown sugar instead. It doesn't really change much, they are nutritionally the same. I thought brown sugar was somehow more healthy--nope! Just tastes different. Has molasses in it or something. I do like the flavor of brown sugar, so in it went.
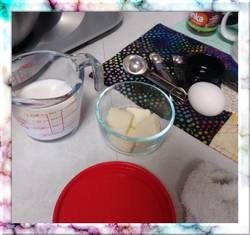
Here are all the wet ingredients. We'll be adding those a bit later. But here they are all ready to go. It's ok if the milk is a bit cold. It can be room temp too, but just don't warm it. You'll find out why in a moment. Also, melt the butter now if you haven't already. You want that to cool down so you don't kill your yeast or cook the egg when you add it in.
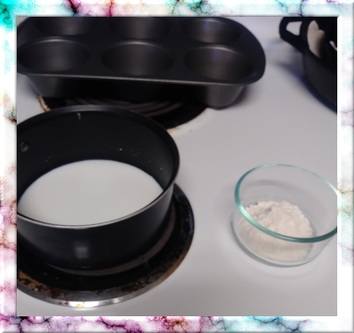
Here are the ingredients for the tangzhong: water and milk in the saucepan and flour waiting to go in. This is what helps to hydrate the bread and make it fluffy, almost like that Hawaiian bread stuff. We'll need that hydration with the added wheat flour. By the way, I'm using bread flour for the tangzhong. I guess you could use all-purpose, too, but as I was using bread flour for the rest of the loaf, I just used what I had already taken out of the cupboard.
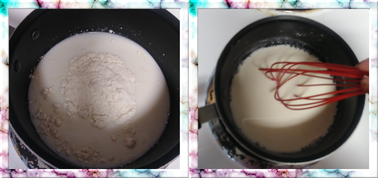
Dump the flour into the saucepan BEFORE turning on the heat. Whisk it until it is mixed in and smooth, no lumps. You can even sift it in if you want, I didn't this time and it worked out OK.
Next, turn the heat on kind of med-low and KEEP WHISKING. I cannot stress that enough.
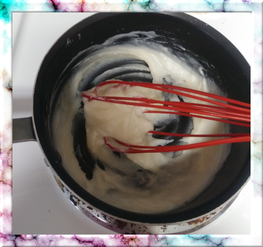
This is the kind of consistency I go for. In her video, Emmy says to heat it until you can just see the whisk marks in the pan. I go a bit further than that as Joshua Weismann says to get it to be a lump. I go for the middle of the road on that, I guess. It seems to work. The bread turns out delicious. Could it be just dumb luck? I don't know, but it works, so I do it.
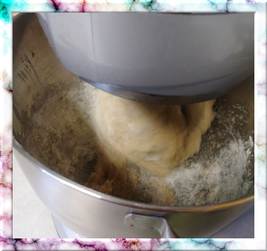
All right, so I skipped over some pictures here, but you don't really need them. Remember the wet ingredients from before? Well, you mix the cold or cool milk in with the tangzhong and the egg and the melted butter. I do that first, although Emmy just says to mix the milk in to cool the tangzhong (see, that's why we don't want the milk heated, you're cooling the tangzhong off from the cooking so we don't have to wait to use it so you don't kill your yeast). I just put all the wet ingredients together and mix them up until well combined, then pour them in the stand mixer a bit at a time, mixing after each addition.
This pic is after all the wet ingredients have been added and it's been mixing for a bit. Mix for about 8 minutes on your mixer's knead setting. I stop mine occasionally because I'm kind of paranoid I'm going to wear my mixer out and make the motor crap out.
After the 8 minutes are up, you're going to dump the dough onto a lightly floured surface.
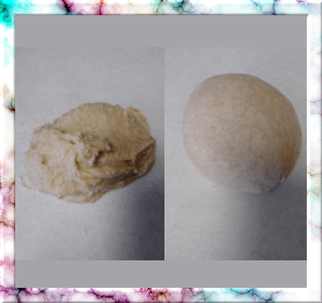
There have been times with this recipe I haven't had to add any extra flour but with the added extra whole wheat flour this dough is more sticky. On the left is the lump just dumped out of the mixer bowl.
You have to knead it just a little bit once you've got it out of the bowl. I just knead until I have a nice smooth ball of dough.
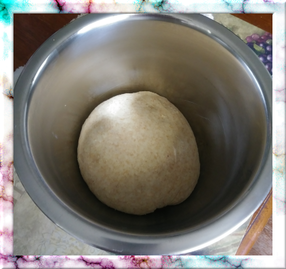
Pop that dough into an oiled bowl and turn it around a time or two to get the oil all over the dough. Cover with a damp towel, put it in a warm place, or just a place where it's not drafty or near an A/C vent, for about and hour. Maybe an hour and a half if it's a cold day.
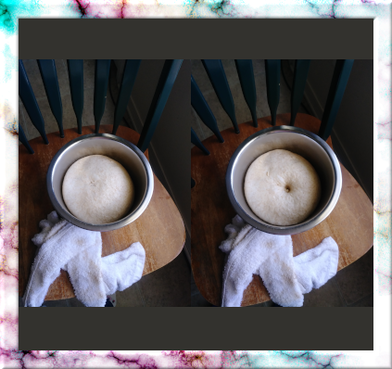
You can tell it's risen quite a bit, but how do you know it's risen enough?
I've heard that if you poke your finger in and the hole stays and the dough doesn't spring right back, it's ready. I tried this at about the half-hour mark, and you pretty much couldn't tell where I poked the bread a few seconds after I had poked it. This looks really good, though.
We're ready for the next step.
I had something special planned for this dough, though.
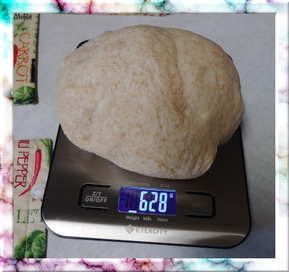
Measuring and portioning was going to be pretty important this time, so I used my kitchen scale (I would recommend using one, like this kitchen scale: handy dandy scale)
I measured it out and divided it into six approximately equal portions. I rolled each into cute little balls.
Then I did something totally different. Well, kind of different. You'll see.
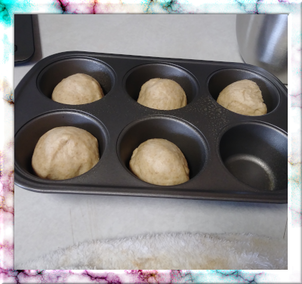
Well, I've done this before. I froze some regular bread flour loaves a day or so ago. I used my mini-loaf pans for that, though. This time I just put each ball of dough into extra big muffin cups. Just 5 of them. The 6th was saved for something special.
By the way, this is BEFORE the second rise.
Then, I popped them into the freezer. Instructions I read say to freeze them for 10 hours before you wrap them individually. I just freeze them until they seem pretty solid and are easy to get out of the muffin cups.
After they seem very solid, I wrap them individually in wrap and seal, then put them into a zippy bag that I've labeled with what they are and the date. You can freeze them for up to 6 months.
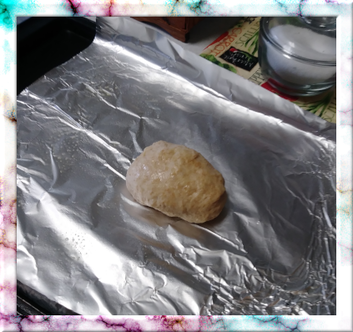
The last one I sort of free-formed into a mini artisanal loaf. I've never made a loaf free form like this. I always have used a loaf pan or made balls and put them side-by-side touching in a pan.
This time I thought I'd just go for it.
I put it in a warm place and covered it with a damp paper towel and let it do its second rise. This time I let it rise for about 45 minutes. It doesn't have to double but you want a noticeable difference.
This little loaf is going to be baked at about 350 F for about 8 minutes, I think. Bake until it's nicely browned and when you thump on the bottom of the loaf it sounds hollow.
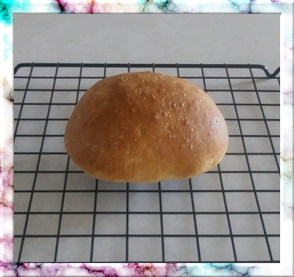
Here it is! Nicely browned. I was going to use an egg wash but I forgot to. It didn't really matter. The loaf was very nice anyway.
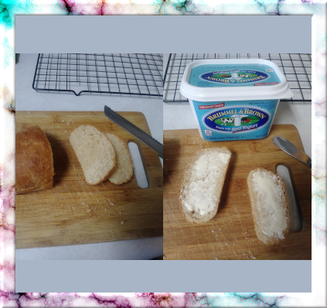
I let it cool for about 10 minutes and I just couldn't stand it, I had to try some. The texture was more coarse and **not quite** as fluffy as a purely bread flour loaf, but the different texture was very nice. A little more "tooth" to it, I guess you could say. I'm not sure I would like it with more whole wheat flour or not.
Also, I like my bread with Brummel & Brown. It's yummy.
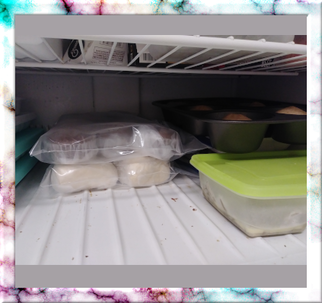
There's the muffin tin in the freezer. Also, the banana expresso/choc chip muffins and the white bread mini loaves. The whole wheat ones will be wrapped and and packaged when they're more solid.
When you want to use one, take it out, let it come to room temp and then start watching it for the second rise. Obviously it will take quite a bit longer because of it having been frozen. At least, that is what I read about it. I haven't made one of these loaves from frozen yet. I'll update you when I do.
Wow! And that was my bread baking morning this past Wednesday. It was quite a lot, wasn't it? All those pictures at each step make it seem more complicated than it was.
I hope the links weren't too intrusive. I really did order those things and use them frequently, though. I'm thinking I might order another set of those containers. They really are handy.
Have a great week, I'll write at you next Friday! Ciao!
I hope the links weren't too intrusive. I really did order those things and use them frequently, though. I'm thinking I might order another set of those containers. They really are handy.
Have a great week, I'll write at you next Friday! Ciao!
 RSS Feed