I posted about the newborn quilt last time. And, in my podcast (which I'll link to some other time, it's not much yet) I mentioned that I learned a lot about making this type of quilt, but I'm still gathering my thoughts about what I learned. I'll make a long post about that another time. In the meantime, I'll post about the finished quilt.
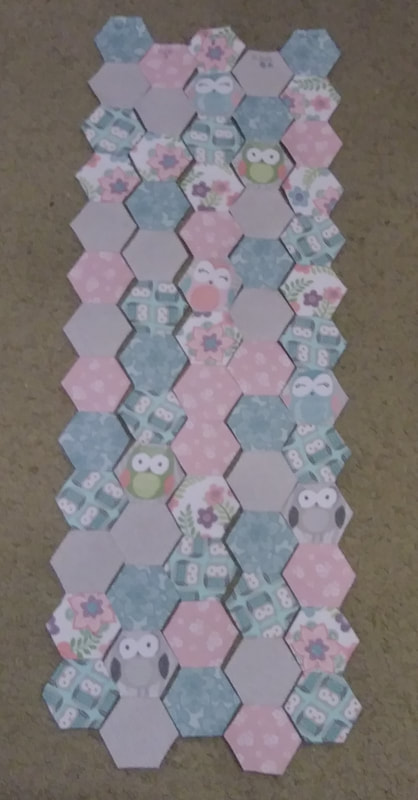
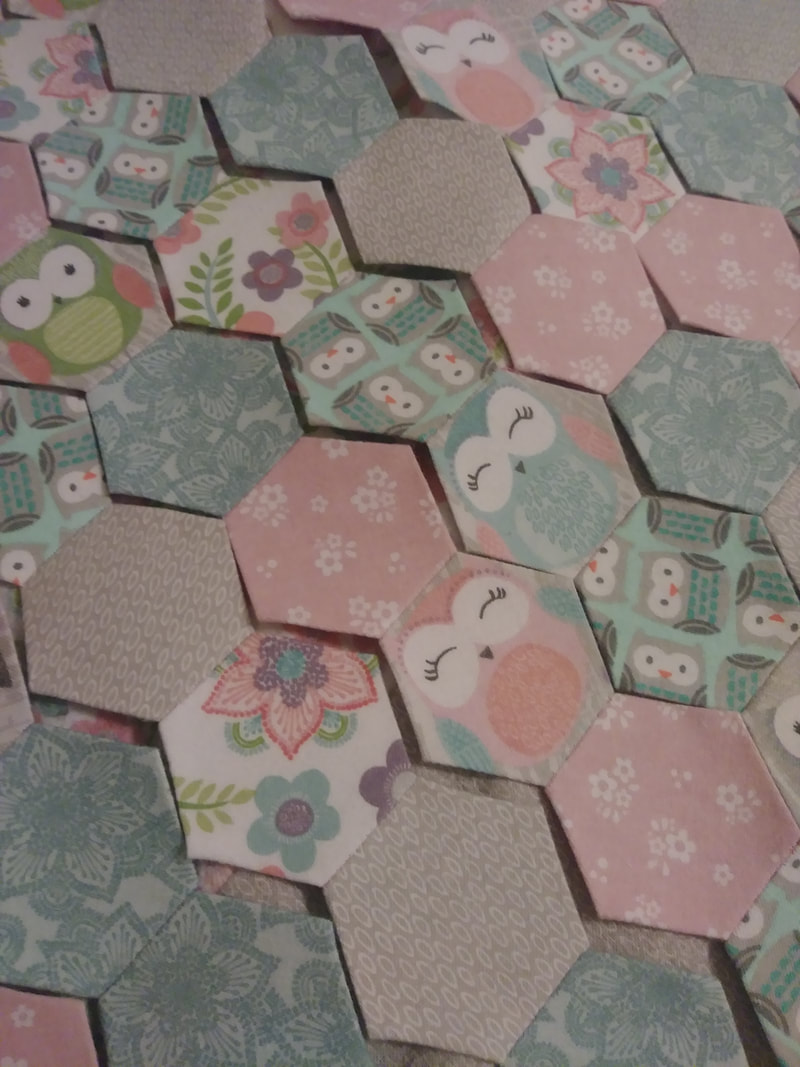
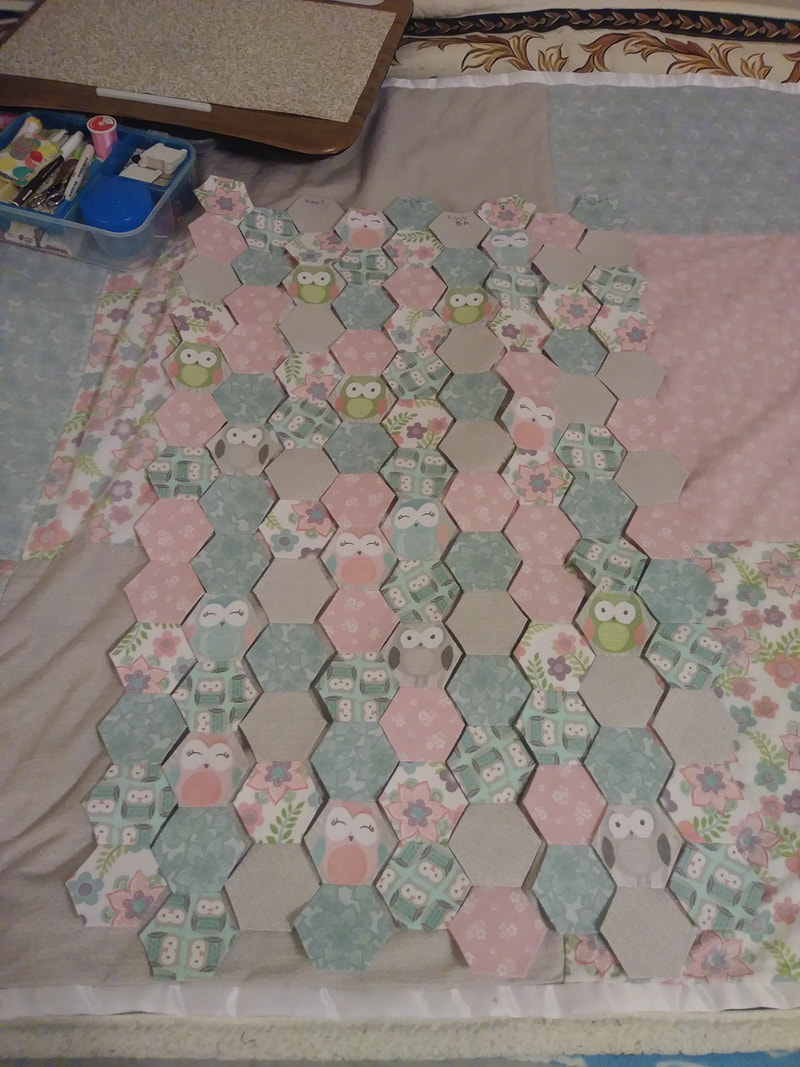
Here are some pics of the strips of hexies. Sorry about the last one being so camouflaged. I took a picture of the strips after laying them on top of another quilt made with the same fabric. Ha! They were pretty fun to put together, but I was really worried about making a whole quilt top with them, even if the quilt top was pretty small, about 24" by 30". Not very big, but I had only made hexie mug rugs so far.
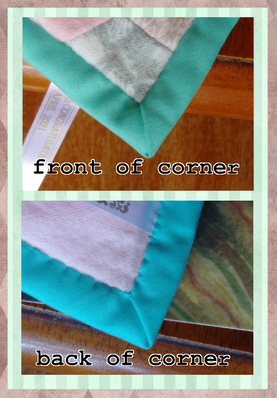
By the way, my corners turned out really great! I usually can do corners pretty well, but there's always just maybe one corner that's wonky enough to see it fairly easily. This time all the corners were perfect.
I know the colors look different. I don't know why. I think I had the overhead light on for one of the pictures and the other one was just using the natural light from the window. You can see the tag in both pictures though, so you know it's the same corner.
As I said, all the corners were picture perfect. But I'm too lazy to take a closeup of each corner. ¯\_(ツ)_/¯
I did this even without the help of my 3 in 1 tool I made after watching a video on the Just Get It Done Quilts YouTube channel. I will link to that on my links page. She has many great videos there, including one about using templates, I'll link to that one. It's really helpful. She's doing some videos now on binding. She did one with homemade binding, but I'm looking forward to the one she's going to do on using pre-packaged binding. I haven't made my own bias binding in a long time.


Here's the finished quilt. I put it on the kitchen counter (It was clean!) because that's where the best light was. It's all wrinkly because I had just taken it out of the dryer and I didn't want to dry it any more. It's just a cuddly quilt anyway. It came through a delicate wash and just enough dryer time to get it just dry with flying colors. Since it's for a baby, I used a hypoallergenic delicates wash and no other fabric softeners or fragrance boosters. I suppose I could have used a warm iron on it, but I figured it wasn't crucial.
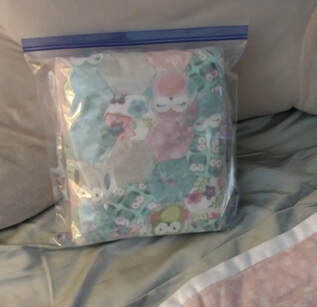
Here it is, all double-bagged and ready to go. I double-bagged it because I want to include some written up care instructions and information on what kind of fabric I used and I thought I might make a nice note with my fountain pen, and I didn't want to take even the remotest chance that the ink would get on the quilt. This way I can slip the note into the outside bag and there will be no chance of getting any ink on the quilt.
All in all, this project increased my sewing/quilting skills greatly. It's always satisfying to not only learn something but make a first rate finished project as well.
See you next time! I'll probably have the information on everything I learned about English Paper Piecing.
Ciao for now!
All in all, this project increased my sewing/quilting skills greatly. It's always satisfying to not only learn something but make a first rate finished project as well.
See you next time! I'll probably have the information on everything I learned about English Paper Piecing.
Ciao for now!
 RSS Feed