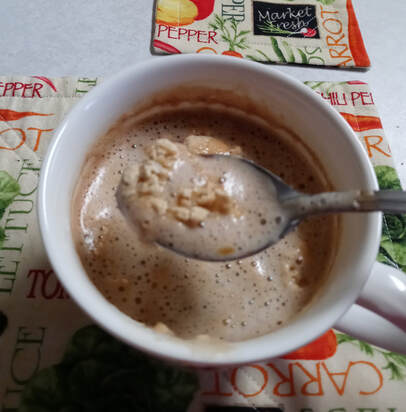
Well, I was planning on doing a post about S'mores Lattes, but after looking over some videos and recipes, I decided I didn't have anything new to add, and, in fact, my ideas were much more boring than what I was seeing on YouTube. So, for your enjoyment, edification and perusal, I present to you
Morgan Ekroth's S'mores Latte Two Ways
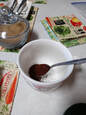
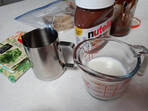
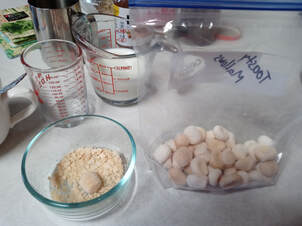
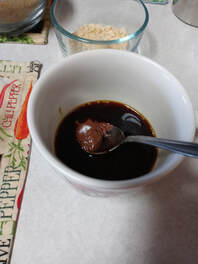
In which she uses a mini-flame thrower...errrr....kitchen torch or whatever.....to toast her mallows. Ahem. Let us move on.
What am I up to lately?
I had so much planned but I am looking down the barrel of another Lent and I want to make this one count more than usual. So usually, I would put some kind of "hey I'm going off social media for Lent, see you in about 40 days" kind of post but, strangely, I've decided the opposite, at least, as far as the blog and videos go.
I want to make some content that will be quite useful and maybe entertaining. So, instead of just cramming in some bunk right now, I'm skipping trying to make a latte post or video, and instead I'm going to start brainstorming and trying out new ideas instead of hanging out on Facebunk and TwitFace all day.
Hey, maybe I'll even make something really worthwhile, I don't know.
Please stay tuned, at the very least it should be interesting.
I'd like to make at least two more blog posts and one or two videos before Lent is over. I'm thinking something in the area of sustainability or repurposing or repairing things.
So, keep looking at this space!
Ciao!


 RSS Feed